
Valentine’s day is less than a month away, and if you are trying to brainstorm something unique and fun for a loved one (romantic or otherwise) I have a fun, easy craft to share today!
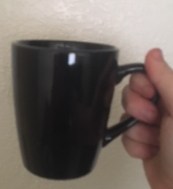
Your blank canvas.
I have been wanting to make a sharpie mug for months so with our last amazon order, I splurged an extra few dollars and bought oil based sharpie paint pens. These are the kind of pens I used to doodle with all the time to make Christmas ornaments or other fun projects so I was excited to use them again. Plus, I felt like the cost on making mistakes on a project like this is fairly low because you can get these simple ceramic mugs at the dollar store… though environmentally speaking, I would encourage you to think about what you want on your cup first!
 I made a quick project over nap time last weekend for my hubby- a big XO peppered with hearts that says “coffee and kisses” on the other side- the motto of our early relationship. The problem was, I kind of hate my handwriting. It wasn’t until later that I realized I could use scrapbooking stickers to trace around, and if I could trace stickers, why not print outs of other designs? So since then, I’ve really been working on stealing 20 minute bursts of time hear and there to create a more complex project for myself.
Here’s the basics:
- Buy or find a Sharpie- I am told the regular kind work but the oil based supposedly stay longer without smudging so that’s what I went with..
- Decide on your design and whether you will freehand it or trace it
- Trace the design- if your Sharpie has a thin tip you may be able to just start with that- otherwise you may want to mark it out with a thin piece of chalk or tailor’s white pencil if on a black mug or else a regular pencil if on a white mug
- fill in design with Sharpie
- Let dry overnight to set
- Put them in a cool oven and let them stay in there as the oven heats to about 350 degrees. Once it’s been in there 25-35 minutes turn the oven off, leave the mug in, and let it cool.
- Use your awesome, personalized mug or give it as a gift to someone you love! I recommend hand washing so risk of the sharpie coming off is lower. I didn’t want to spend money on sealing it because I wanted to keep things simple and I don’t want to risk getting chemicals close to what I’m drinking!
As those of you who follow me on Facebook or Instagram probably know, I’m obsessed with the musical Hamilton. We listen to the soundtrack nonstop and we have family dance parties to some of the songs on a weekly basis, if not more. And while I have probably listened to Wait for It more than any other track, the Schuyler sisters have my heart. So here’s how mine came out:
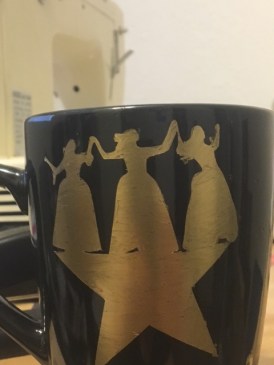
It’s not perfect (It was hard to get the paper to stick in some of the more detailed places so there are a few smudges and it isn’t exactly level…) but you know what? I can’t wait to enjoy some coffee out of it so I can caffeine up this mind at work! Let me know if you try this and what design you use! I’m thinking that this a project I will come back to in the future 🙂
